Giving Bullet Journaling a try!
Post may contain affiliate links. As an Amazon Associate I earn from qualifying purchases.
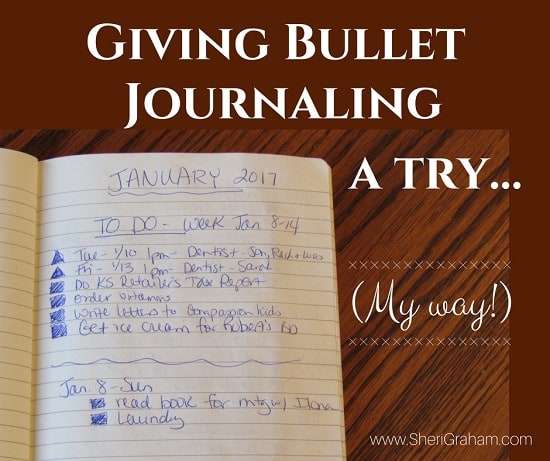
Over the years, I have tried many different ways of keeping my calendar. I have used a paper only version (my Intentional Planner), a digital only version (Google Calendar), and a mixture of both.
Over the past few years, I have moved to mostly using Google Calendar to track all appointments, to do lists, cleaning tasks, etc. I love being able to set up something to repeat and not have to remember to manually enter the items on my task list for the day.
But in spite of all that, I still love putting pen to paper. I love little notebooks and writing in them. So a couple weeks ago I decided to look into bullet journaling and give it a try.
In the past, I have read a lot about bullet journaling, and while it looked fun and exciting to do, it seemed so complex and confusing to set up. But this week I ran across a couple of blog posts that explained how you can easily set up your journal without all the complex systems, symbols, etc.
I realized that I could do this bullet journaling thing my way!
Here are the posts I read:
How to Bullet Journal: The Absolute Ultimate Guide
Thorough Guide to the Bullet Journal System
After reading through these two posts, here is what I did to set up my journal.
How I set up my Bullet Journal
I bought a cheap journal at Walmart to give this a trial run. (However, since then I created my own Journal and am loving it!)
I made the first page of my journal the INDEX page.
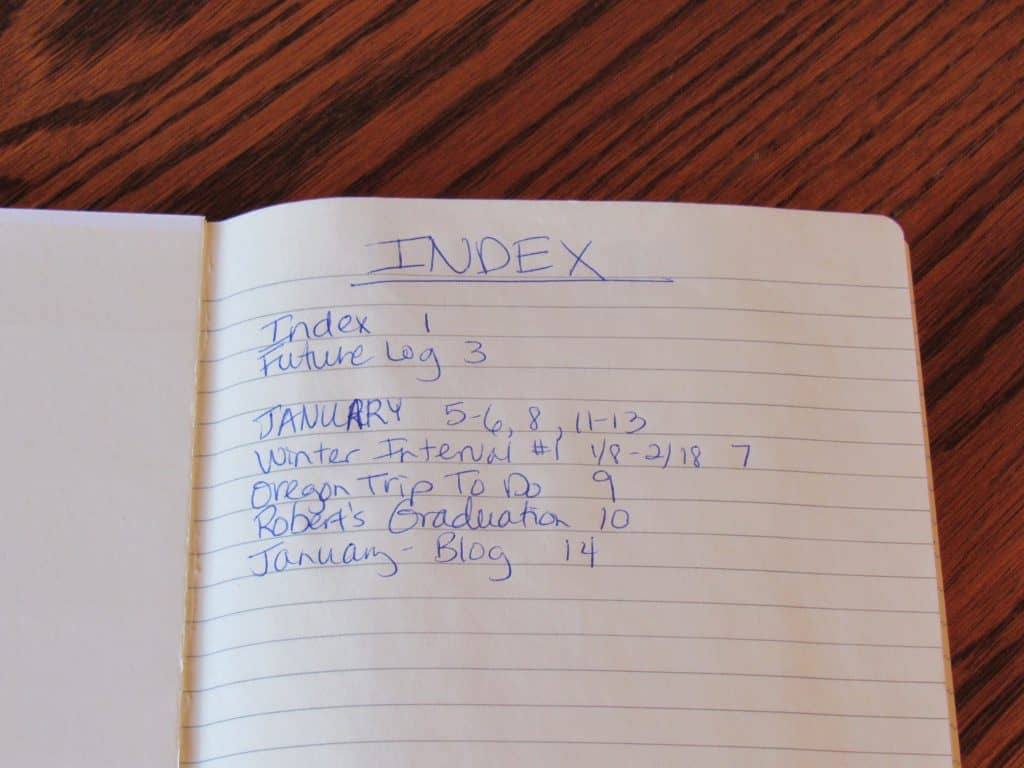
This is the page where I will record what I am writing on the pages of my journal. Before you really get started, go ahead and write the page numbers at the bottom corner of each page. I did not number the whole journal, but started by numbering about 20 pages to get me started. You can keep numbering the pages as you go along.
You can see that the Index page is the first page, then I left a couple pages for a Future Log (just a place to brain dump). Then I started my pages for January, an interval page, a to do list, and more. You will see more details of these pages below.
Then I created several pages for this past week.
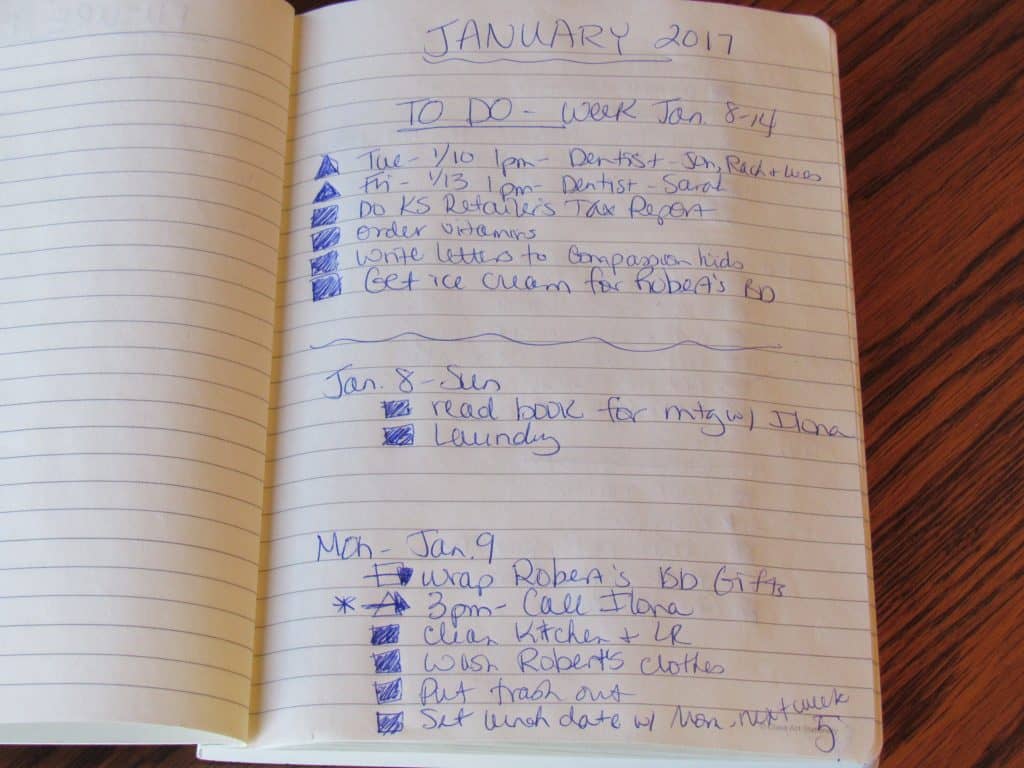
I started by writing To DO’s for the week (not specific to a day), then I listed each day of the week with some space in between.
When I complete an item on the list for that day, I fill in the box. If I decide to move the task to another day, I write an arrow through the box and then add the task to the day I am moving it to.
Items that are time specific like appointments, I put a triangle next to those and put a star beside it to make sure it stands out a bit.
I created an Interval Page next.
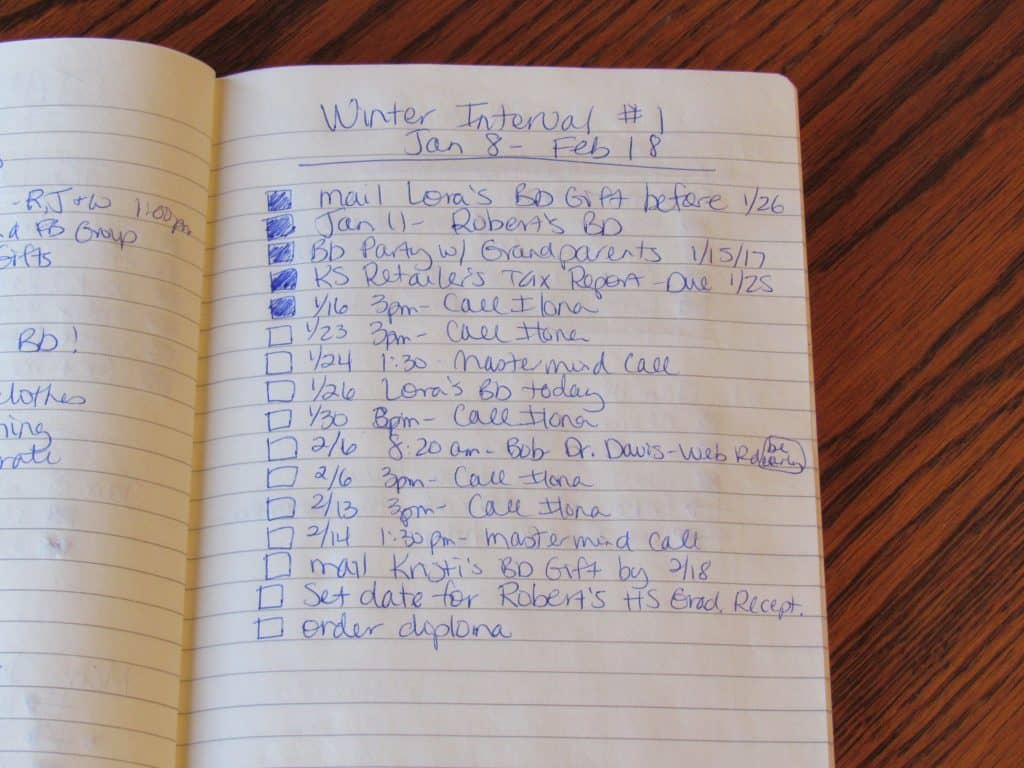
I created a page for the Interval we just started (I plan our calendar in intervals – usually 6-7 week blocks of time).
This is my Winter Interval #1 that runs from January 8 – February 18. I listed out all the appointments happening during that time frame, any to do items that I need to get done, etc. Then I use this page when I plan out my weeks (shown above).
When I add the appointments to the current week, I fill in the box. I usually wait to fill in the box next to any to do type items until after I get it done. Even though I will be adding these to my week when I want to get them done, I decided to keep it on that list to make sure I don’t miss it.
Then I created some specific To Do pages.
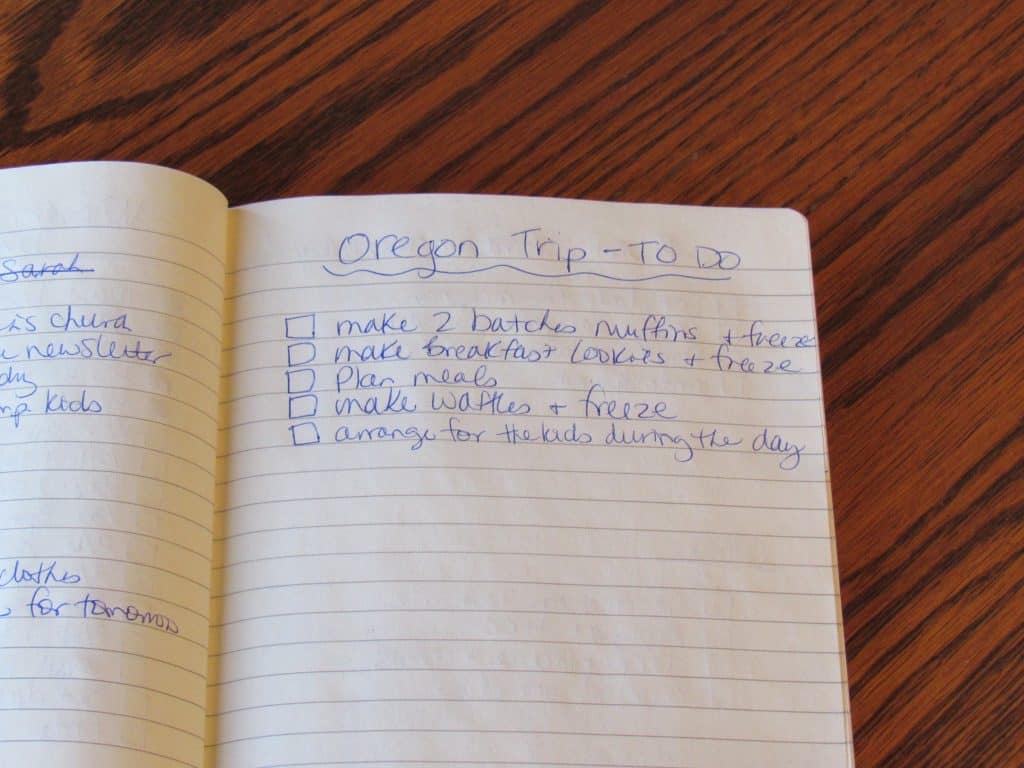
I am loving this approach because when I think of a project I need to do or an event I need to plan for, I can just go to my next blank page and jot down my list of to do’s. Then I add the page to my Index so I can easily find it. Love it!
The results so far…
So far I am loving this approach to tracking my days. I really do love writing (pen to paper) and it has been good for me to have a place to jot down ideas and to do’s as I think of them. I love having everything in one place.
While I still like using Google Calendar to track all my appointments and recurring tasks, this bullet journaling system has been a fun change for me.
As I mentioned above, I am working on creating and publishing my own little journal that has an Index page at the front, and then it is filled with lined pages that are numbered (no more manually writing the numbers at the bottom of each page!). I hope to have that available soon!
What about you? Have you tried bullet journaling? Did you like it?
New Journal Available Now!
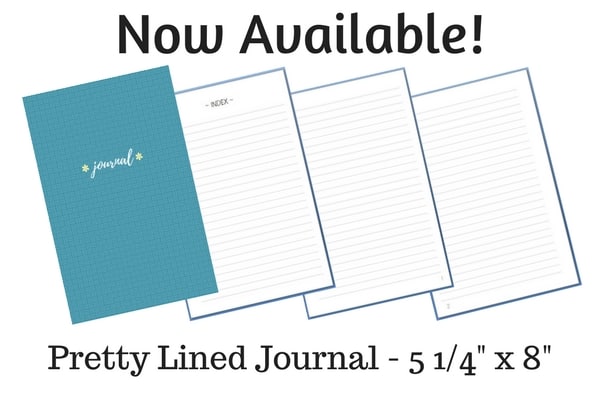
My new journal is now available for sale! I created this journal to be simple and easy to use. It has a pretty blue cover. The first couple pages are for your Index, and the remaining pages are lined and pre-numbered, ready to fill! I am loving my new journal! It is not too big and is just the right size to carry around with me if needed. Go check out my Journal today!



8 Comments